- Login to office 365 and go to the admin title.
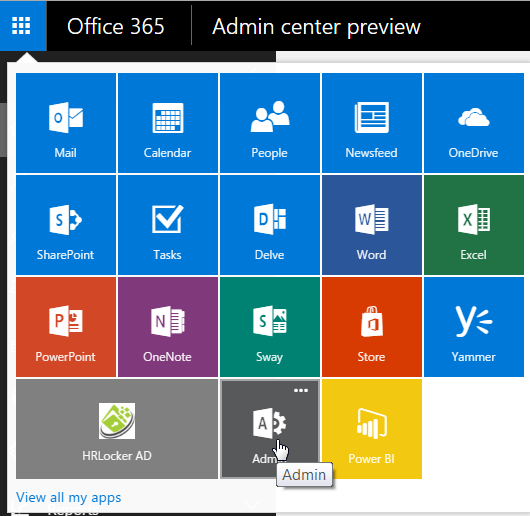
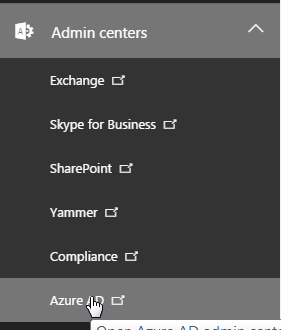
2. When logged in go to the Admin Centers option in the left-hand menu and select Azure AD from the options.
3. Once logged into AD Click on the Active Directory Link on the Left Pane and Then the name of the Company in the Panel that opens.

4. This then opens a Dashboard screen as below
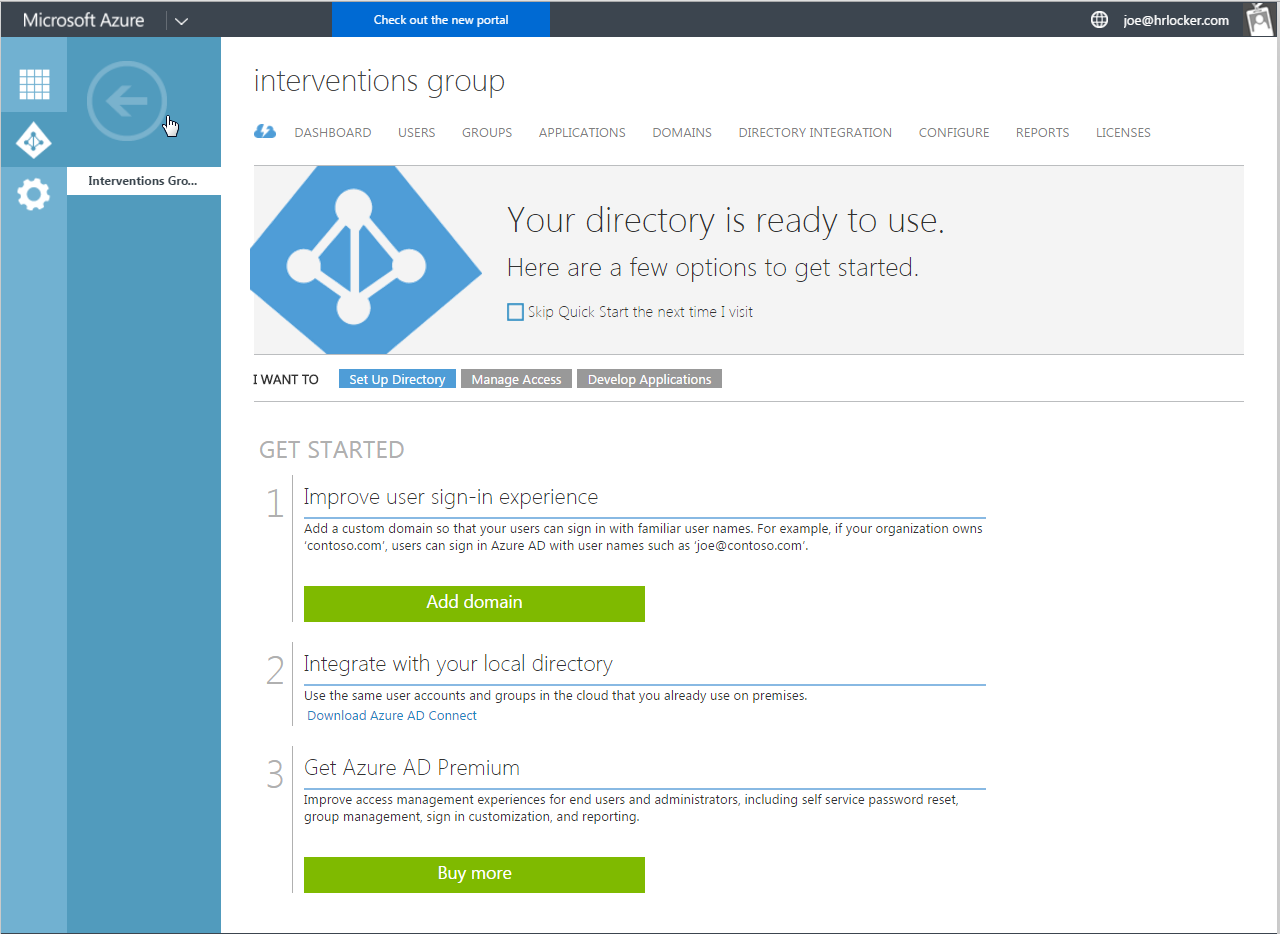
5. Select the “Applications” from the Top Menu below.

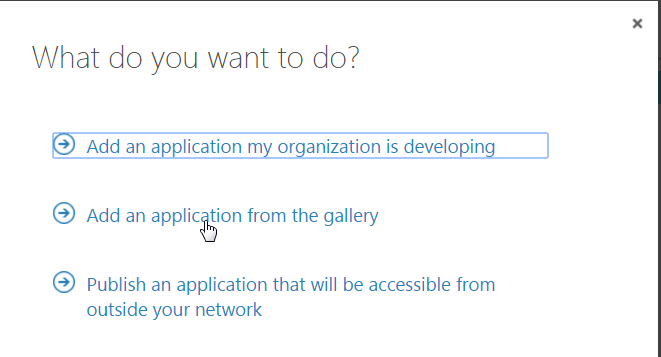
6. When the “Applications” screen opens there are menu options at the bottom. Choose the ADD+ menu option.

7. This opens a Dialog screen with 3 options. Choose “Add an application from the gallery”
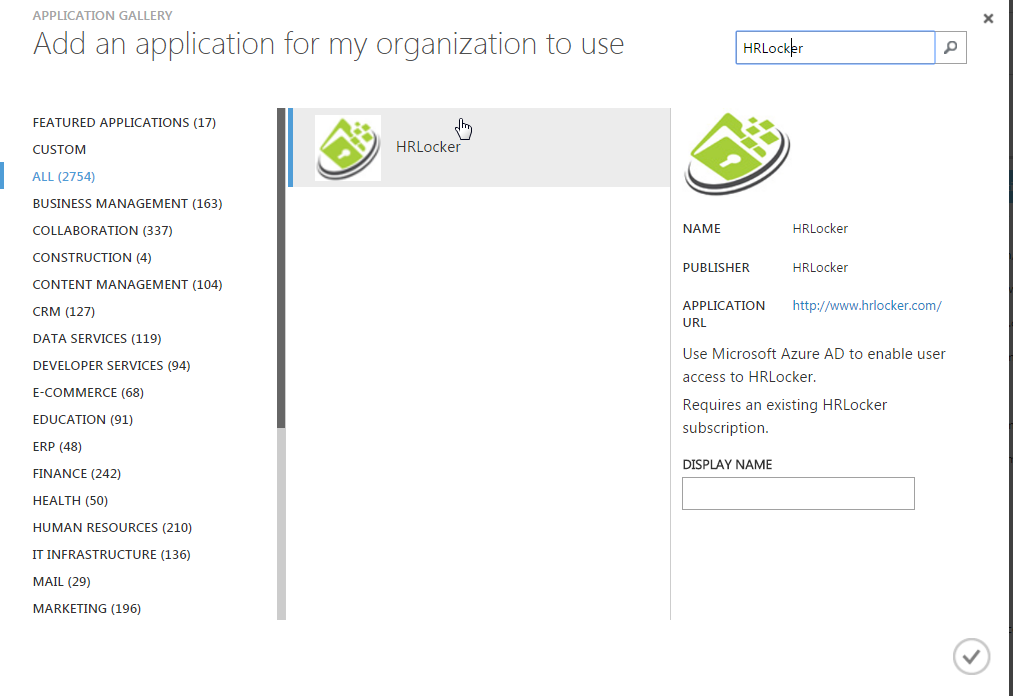
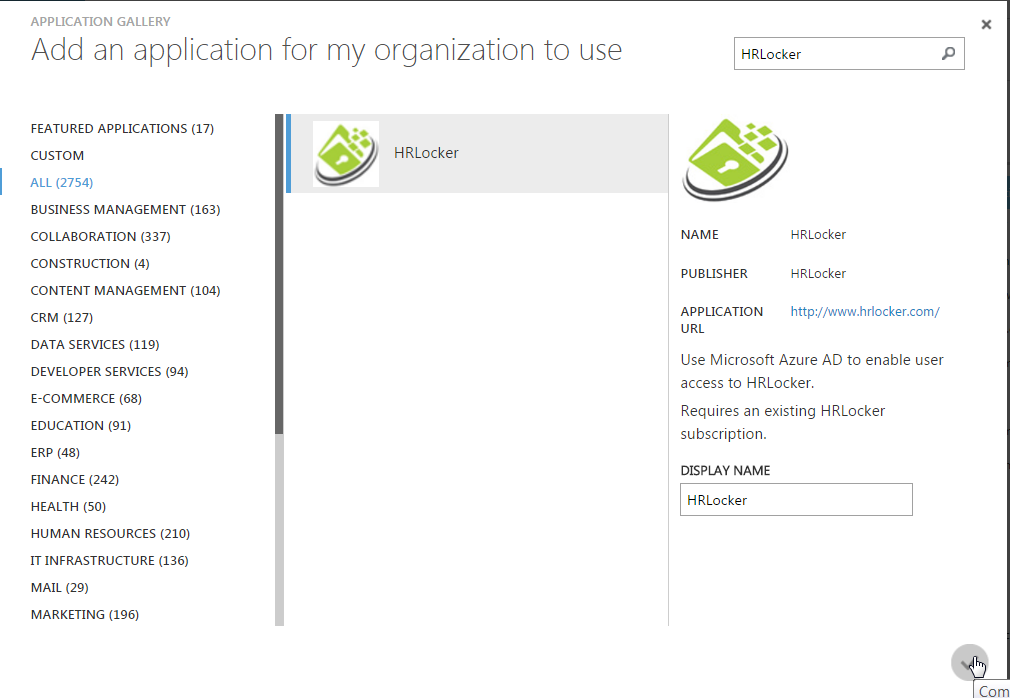
8. When the new screen opens, type in HRLocker in the search box in the top right corner and click the search icon. When HRLocker returns, add HRLocker in the “Display Name” box and then click the “tick” button to add
Now when you go to your titles in office 365, HRLocker will be there as a new tile. The title will have the text entered as the Display Name.